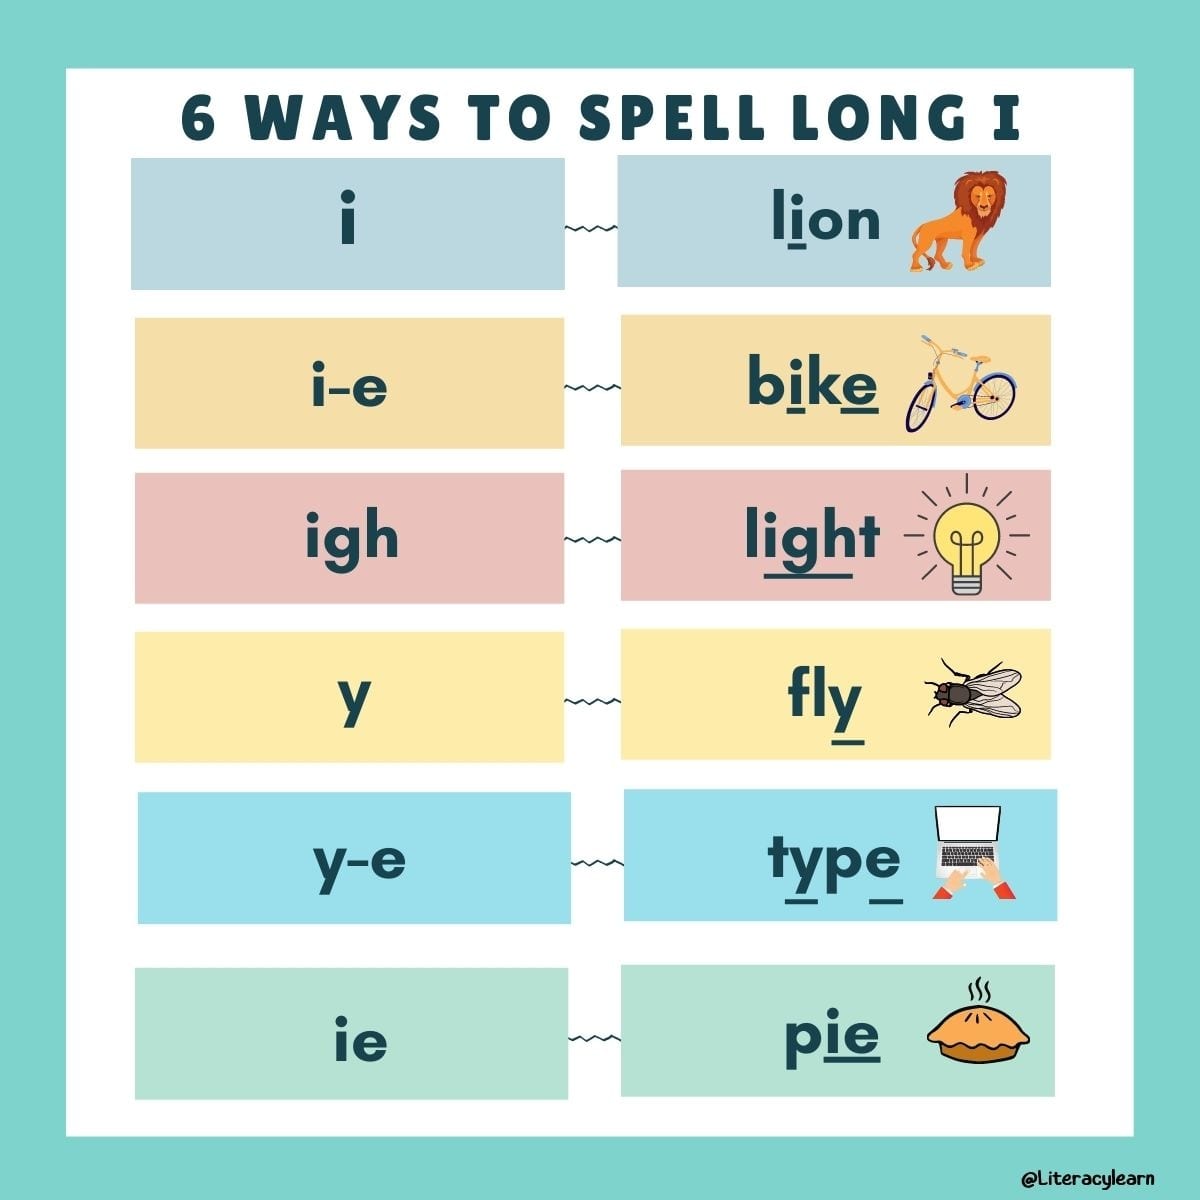
Egg Types and Incubation Times
 - Hợp Âm Chuẩn")
Chicken egg incubation times are influenced by several factors, including the breed of chicken, egg size, and environmental conditions. Understanding these variations is crucial for successful hatching. Accurately determining the appropriate incubation period can significantly impact chick survival and development.
The duration of incubation, while generally consistent for a given breed and egg size, can vary slightly depending on several factors. Variations in the hen’s diet, overall health, and the specific conditions of the incubator can all impact the incubation process. Precise temperature and humidity control during incubation are critical for optimal results.
Egg Types and Average Incubation Periods
Various chicken breeds lay eggs that differ in color and size, which can affect the incubation period. A key factor is the consistency of environmental conditions.
| Egg Type | Average Incubation Period (days) |
|---|---|
| Brown Large | 21 days |
| Brown Medium | 21 days |
| Brown Small | 21 days |
| White Large | 21 days |
| White Medium | 21 days |
| White Small | 21 days |
Factors Influencing Incubation Times for Different Breeds
Several factors influence the incubation times for different chicken breeds, resulting in slight variations in the expected hatching period. Factors like genetic variations within the breed and the hen’s health status can play a role.
- Breed Differences: Different chicken breeds exhibit variations in egg size and shape. For example, some breeds lay larger eggs, which might take a slightly longer incubation period compared to smaller eggs. The overall health and nutritional status of the hen also plays a part in egg development.
- Egg Size: Larger eggs generally require slightly more time to incubate than smaller eggs. This difference is subtle, but can impact the overall process. The nutritional status of the hen and the quality of feed can affect the size of the eggs.
- Incubation Conditions: Temperature and humidity control are crucial during incubation. Fluctuations in these conditions can significantly impact the development of the embryo. Consistency in these factors is essential.
- Fertility: The fertility of the egg plays a significant role. Infertile eggs will not hatch. A hen’s health and the egg’s quality are key to successful fertilization and subsequent development.
Typical Incubation Periods for Different Egg Sizes
Egg size is a key factor in determining the optimal incubation time. The volume and resources required for the developing chick influence the duration.
| Egg Size | Approximate Incubation Period (days) |
|---|---|
| Large | 21 days |
| Medium | 21 days |
| Small | 21 days |
Factors Affecting the Variability of Incubation Times
Several factors contribute to the variability in incubation times, impacting the success of hatching. These factors include the specific conditions of the incubator and the genetic makeup of the chicken breed.
- Incubation Temperature Fluctuations: Maintaining a consistent temperature within the incubator is vital. Even small deviations can impact the development of the embryo.
- Humidity Variations: Humidity levels during incubation significantly influence chick development. Maintaining appropriate humidity is essential for the chick’s well-being.
- Egg Handling: Carefully handling eggs during collection and placement in the incubator minimizes stress and reduces the risk of damage. Gentle handling is important.
- Egg Quality: The overall quality of the egg, including its internal environment and the health of the hen, can influence the incubation time. Good quality eggs are essential.
Factors Affecting Incubation
Proper incubation is crucial for successful hatching of chicken eggs. Numerous environmental factors play a vital role in determining whether an egg will successfully develop into a chick. Understanding these factors empowers individuals to create optimal conditions for a healthy hatch rate.
Temperature regulation is paramount during the incubation period. Maintaining a consistent temperature range is essential for the embryo’s development. Fluctuations in temperature can disrupt the delicate process of embryonic growth, potentially leading to developmental abnormalities or death.
Temperature Regulation
Maintaining a consistent temperature throughout the incubation period is vital for embryonic development. A fluctuating temperature can lead to abnormalities or death in the embryo. A slight variation can impact the growth rate and overall health of the chick. Ideal temperatures typically range between 99.5°F to 100.5°F (37.5°C to 38.0°C), with slight variations depending on the specific breed of chicken. Incubators are designed to maintain these parameters, allowing for consistent development. Failure to maintain consistent temperatures can lead to significant losses in hatching success. For example, prolonged exposure to lower temperatures may result in stunted development, while overheating can lead to embryonic damage or death.
Humidity Levels
Humidity levels influence the embryo’s development by maintaining the egg’s moisture content. Appropriate humidity is essential for proper embryonic development. Maintaining a humidity level that is too high or too low can lead to significant problems. Maintaining an appropriate humidity level during the incubation process is critical for successful hatching. A high humidity level is required during the initial stages of incubation to prevent dehydration. However, excessive humidity can lead to problems such as mold growth. Too little humidity can result in the embryo drying out, hindering its development. A well-maintained incubator balances these levels effectively, creating a favorable environment.
Turning Eggs
Turning eggs regularly during incubation is critical for uniform development. The embryo needs to be rotated regularly to prevent adhesion to the shell. Regular turning ensures that the developing embryo is exposed to all sides of the egg, ensuring even development and preventing the embryo from adhering to the shell, a critical factor for successful hatching. This promotes even growth and development, as all parts of the embryo are exposed to nutrients and oxygen. Consistent turning prevents the embryo from adhering to the shell, which could lead to deformities. The frequency and method of turning eggs depend on the specific incubator design.
Egg Cleanliness
Maintaining the cleanliness of eggs is a vital factor in the incubation process. Clean eggs are less prone to microbial contamination. Clean eggs are less likely to harbor harmful bacteria that could negatively impact the incubation process. Thorough cleaning of eggs before incubation can significantly improve hatching success. Bacteria and other microorganisms can lead to infections and developmental issues in the embryo.
Consistency of Humidity and Temperature
Consistent humidity and temperature are essential for uniform embryonic development. Maintaining consistent parameters throughout the incubation period is critical for optimal development. Slight variations in temperature or humidity can disrupt the delicate balance necessary for the embryo’s growth and development. Regular monitoring and adjustments, as needed, are necessary for successful hatching.
Potential Problems and Effects on Incubation Times
| Potential Problem | Effect on Incubation Times |
|---|---|
| Temperature fluctuations | Delayed hatching, developmental abnormalities, and embryo death |
| Humidity fluctuations | Dehydration, mold growth, and reduced hatching success |
| Insufficient turning | Embryo adhesion to the shell, deformities, and reduced hatching success |
| Egg contamination | Infections, developmental problems, and reduced hatching success |
Incubation Methods and Procedures
Proper incubation methods are crucial for achieving a high hatching rate and healthy chicks. Understanding the nuances of various approaches, from simple homemade setups to sophisticated commercial systems, is essential for success. This section details different incubation methods, procedures, and considerations for maintaining optimal conditions.
Homemade Incubator Setup
A homemade incubator can be a cost-effective solution for aspiring poultry keepers. Building one requires careful planning and execution to ensure the necessary environment for successful hatching. Precise measurements and materials are vital to create an effective and safe environment for the eggs.
- Materials: A suitable container, insulation materials (e.g., styrofoam, wool), thermometer, hygrometer, egg turning device, and ventilation system are crucial components.
- Construction: Constructing the incubator involves creating a well-insulated enclosure to maintain a stable temperature and humidity. Proper insulation is paramount to minimize temperature fluctuations.
- Placement: The incubator should be placed in a stable, draft-free location, away from direct sunlight and extreme temperature fluctuations. This ensures consistent conditions for optimal egg development.
- Electrical Setup (if applicable): If employing an electric heating element, ensure proper wiring and safety precautions to prevent hazards. This requires electrical expertise and safety measures to prevent fire.
Commercial Incubator Setup
Commercial incubators offer greater precision and automation, which is advantageous for larger-scale operations. These models usually have integrated features for temperature and humidity control. The use of commercial incubators provides a controlled environment, crucial for optimal development.
- Choosing a Model: Consider the size and capacity of the incubator to match your needs. Select models with advanced features like automatic turning, temperature regulation, and humidity control for better outcomes.
- Placement and Setup: Place the incubator in a stable location with good ventilation. Follow the manufacturer’s instructions for proper setup and initial adjustments to the machine.
- Pre-heating: Before placing eggs, pre-heat the incubator to the recommended temperature and humidity levels. Proper pre-heating is crucial to establishing the desired environment.
Egg Turning Procedures, How long does it take to incubate chicken eggs
Regular egg turning is essential to prevent the developing embryo from adhering to the shell. This process ensures that the yolk remains centrally located, which is vital for healthy development.
- Frequency: Turn eggs at least three times a day, ideally once every 8-12 hours. This frequency is critical for embryo development.
- Method: Use a gentle, but thorough turning method. A specialized egg turner is recommended for safety and effectiveness. This is essential for preventing embryo damage.
- Care: Avoid excessive force or jostling during turning to prevent potential damage to the developing embryo. Care is paramount for the developing embryo.
Monitoring Temperature and Humidity
Monitoring temperature and humidity is critical for successful incubation. Precise readings are crucial for proper egg development.
- Use of Tools: Utilize accurate thermometers and hygrometers to track these parameters regularly. This ensures the incubator environment is maintained within the recommended range.
- Frequency of Checks: Check the temperature and humidity levels every few hours. Regular monitoring ensures consistent environmental conditions.
- Adjustments: Make necessary adjustments to the incubator’s temperature and humidity levels as needed. This allows for consistent environmental conditions throughout the incubation process.
Checking for Development
Regular checks allow you to monitor the progress of the eggs. Careful observation of signs of development is crucial for ensuring a healthy hatch rate.
- Visual Inspection: Observe the eggs for any unusual signs, such as cracks or discoloration. This helps identify potential problems early on.
- Candling: Candling techniques allow for non-destructive viewing of the embryo development. This is essential for monitoring the embryo’s development.
Incubator Cleaning Procedures
Regular cleaning is vital to prevent the growth of bacteria and maintain a sanitary environment. Cleanliness is essential for maintaining a healthy environment for hatching.
- Frequency: Clean the incubator after each batch of eggs and at least once a month to ensure hygiene. This ensures the incubator is free of contaminants.
- Materials: Use a mild disinfectant solution to clean the incubator’s interior and exterior. This is important for sanitizing the incubator.
- Thoroughness: Thoroughly clean all surfaces, including the heating elements and turning mechanisms. This ensures the entire incubator is disinfected.
Incubator Types Comparison
| Incubator Type | Features | Capacity | Cost |
|---|---|---|---|
| Homemade | Simple design, cost-effective | Variable | Low |
| Commercial | Precise temperature and humidity control, automatic turning | Variable, often larger | Medium to high |
| Electric | Electric heating elements, efficient temperature control | Variable | Variable |
Incubation Time Variations

Chicken egg incubation, while generally following a predictable timeline, can experience variations. These deviations are often influenced by various factors, impacting the overall hatching process. Understanding these fluctuations is crucial for successful brooding and chick rearing.
A typical incubation period for chicken eggs ranges from 21 to 21.5 days. However, factors such as egg quality, temperature fluctuations, humidity levels, and even the breed of chicken can cause noticeable differences in the hatching timeline. Recognizing these variations and their potential causes helps ensure a smooth and productive incubation process.
Normal Range of Incubation Times
The standard incubation period for chicken eggs is typically between 21 and 21.5 days. This timeframe is based on ideal conditions and can vary depending on the specific breed of chicken. Factors like egg size and shape, along with the hen’s health, can slightly influence the incubation time.
Factors Causing Deviations from the Average
Several factors can affect the incubation period, leading to deviations from the standard 21-21.5-day timeframe.
- Egg Quality: Eggs with damaged shells, internal abnormalities, or insufficient yolk development might take longer to hatch or not hatch at all. For instance, eggs with thin or cracked shells are more susceptible to bacterial contamination, delaying or preventing the hatching process.
- Incubation Temperature Fluctuations: Consistent temperature is crucial. Minor deviations can disrupt the embryo’s development, potentially extending the incubation period. For example, a slight drop in temperature, even for a short period, can cause a delay in embryonic development.
- Humidity Levels: Maintaining appropriate humidity is essential for proper embryonic development. Significant deviations from the recommended humidity level can lead to abnormalities and prolonged incubation times. If the humidity is too low, the embryo’s membranes might dry out, causing issues with development.
- Egg Turning Frequency and Technique: Proper turning of eggs is vital for the embryo’s growth and prevents the embryo from sticking to one side of the egg. Irregular or infrequent turning can negatively impact the process. For example, improper turning can cause the embryo to become malformed, resulting in an extended incubation period.
Reasons for Variations in the Incubation Period
Variations in the incubation period arise from a complex interplay of factors influencing the embryo’s development. The precise temperature, humidity, and turning frequency are crucial for a smooth hatching process. A slight deviation from these optimal conditions can cause a delay in hatching.
Signs of a Problem During Incubation
Monitoring the eggs during the incubation period is critical for identifying potential issues. Unusual behaviors or deviations in the expected development timeline might signal problems. For instance, if the egg remains unhatched after the normal incubation period, it may indicate an issue with the embryo.
Reasons for Eggs Failing to Hatch Within the Typical Time Frame
Several reasons can lead to eggs failing to hatch within the typical timeframe. Factors such as damage to the egg shell, internal abnormalities, or improper incubation conditions might be at play. An example is a significant temperature drop during incubation, which can halt the embryo’s development and lead to non-hatching.
Common Causes of Extended Incubation Periods
Extended incubation periods often stem from factors affecting the embryo’s development. Inadequate incubation conditions, such as inconsistent temperature or humidity, are common culprits. For example, a sudden shift in the incubation environment could lead to a prolonged hatching time.
Differences in Incubation Periods Based on Egg Condition
The condition of the egg significantly influences the incubation period. Eggs with internal defects, such as blood spots or irregular yolk formation, might have longer incubation times or not hatch at all. For instance, an egg with a significantly damaged shell might increase the incubation period due to potential contamination or hinder the process.
Monitoring and Troubleshooting: How Long Does It Take To Incubate Chicken Eggs
Maintaining a consistent and optimal environment during incubation is critical for successful hatching. Careful monitoring and prompt troubleshooting of potential issues can significantly increase the chances of healthy chicks emerging. This section provides detailed procedures for monitoring critical parameters, recognizing potential problems, and taking corrective actions.
Temperature Monitoring
Regular temperature checks are essential for a successful incubation process. An accurate thermometer, ideally placed centrally within the incubator, should be used to measure the temperature. Record readings at frequent intervals, especially during the initial stages of incubation. Fluctuations in temperature should be promptly addressed to maintain a consistent incubation environment.
- Use a reliable thermometer with a known degree of accuracy. Avoid thermometers with unreliable or inconsistent readings.
- Record temperature readings at least twice per day, preferably more frequently, especially during the first few days.
- Ensure the thermometer is placed in the incubator’s warmest area, avoiding any potential drafts or heat pockets.
- Compare the recorded temperature readings to the ideal temperature range for the specific type of egg being incubated.
Humidity Monitoring
Monitoring humidity levels is just as important as temperature control. A hygrometer should be used to measure humidity. Adjust the humidity level as needed, usually by adjusting the water pan level or adding more water to the pan. Maintaining consistent humidity is crucial for egg shell integrity and embryo development.
- Use a hygrometer to accurately measure the humidity levels inside the incubator.
- Record humidity readings regularly, ideally at least once per day.
- Adjust the humidity level as necessary, adding or removing water from the water pan.
- Ensure that the water pan is not overfilled, as this can lead to excessive humidity.
Egg Turning Procedure
Turning eggs regularly is vital for preventing the embryo from adhering to the shell. Turn eggs at least three times daily, rotating them 180 degrees each time. A gentle turning motion is sufficient to achieve the necessary rotation.
- Turn eggs using a gentle, even motion to avoid damaging the embryo.
- Turn eggs at least three times per day to ensure even development.
- Maintain a consistent rotation pattern to minimize stress on the developing embryo.
- Avoid jarring or forceful movements when turning eggs.
Troubleshooting Common Problems
Incubation problems can arise due to various factors. Identifying the problem and implementing the appropriate solution is critical to achieving successful hatching.
| Problem | Solution |
|---|---|
| Low Hatch Rate | Verify temperature and humidity readings. Ensure proper egg turning. Check for fungal or bacterial contamination. |
| Embryo Death | Check temperature and humidity. Assess the quality of the eggs and the incubator. Verify if there are any external factors affecting the eggs. |
| Slow Development | Verify temperature and humidity readings. Check for any possible blockages. Ensure the eggs are properly turned. |
| Cracked or Damaged Eggs | Remove the affected eggs promptly. Monitor the remaining eggs for any signs of distress. |
Dealing with Cracked or Damaged Eggs
Cracked or damaged eggs should be removed promptly to prevent the spread of contamination. Discard any severely damaged eggs.
- Remove any cracked or damaged eggs immediately to prevent contamination.
- Discard any egg with significant damage to prevent the spread of bacteria.
- Monitor the remaining eggs closely for signs of distress.
Recognizing Abnormal Developments
Abnormal developments, such as misshapen embryos or abnormal yolk sac size, can indicate issues during incubation. Monitor eggs for signs of abnormalities and consult resources for proper identification and solutions.
- Regularly inspect eggs for signs of abnormal development.
- Consult reliable resources for identification of potential problems.
- Note any deviations from the expected development process.
Preventing Incubation Problems
Maintaining a clean incubator and using quality eggs are crucial steps in preventing problems. Implementing these steps can minimize the risk of common incubation issues.
- Maintain a clean and sanitary incubator.
- Use only fresh, high-quality eggs.
- Ensure proper temperature and humidity control.
- Turn eggs regularly and gently.
Visual Aids and Diagrams

Visual aids are crucial for understanding the intricate process of chicken egg incubation. Clear diagrams and illustrations can simplify complex procedures and help ensure successful hatching. These visual tools make it easier to grasp the various stages of development, egg handling, and potential problems.
Internal Chick Development Diagram
A diagram depicting the internal development of a chick within the egg should showcase the embryo’s progression from a single cell to a fully formed chick. This visual should highlight key developmental stages, including the formation of the beak, wings, and legs. The diagram should clearly illustrate the position of the embryo within the egg white and yolk, as well as the growth of vital organs. This illustration will greatly assist in understanding the dynamic changes occurring within the egg.
Egg Turning Technique
The proper egg turning technique is essential for even development. A visual aid demonstrating this technique should show the egg being rotated in a consistent manner, ensuring all parts of the embryo receive adequate exposure to nutrients. The illustration should showcase the egg turning process, demonstrating the careful rotation of the egg without causing damage to the developing chick. The turning method should be depicted from multiple angles to ensure clarity.
Simple Egg Incubator Diagram
A diagram of a simple egg incubator should include all crucial components, such as the heating element, ventilation system, and egg trays. The diagram should clearly label each part of the incubator, providing a visual guide for construction or use. This detailed diagram will allow individuals to easily assemble or understand the functioning of a simple egg incubator.
Stages of Chick Development
Visual representations of the different stages of chick development within the egg are vital for monitoring progress. A series of illustrations, progressing from the initial stages to the hatching stage, should clearly show the changes in the embryo’s size and appearance. This visual progression will allow for the identification of developmental abnormalities. Each stage should be labelled with a descriptive title.
Egg Positioning in the Incubator
A visual guide illustrating the proper egg positioning within the incubator is critical for even temperature distribution. The diagram should demonstrate the correct spacing between eggs and the orientation of the eggs in the incubator. This will ensure proper airflow and heat distribution around each egg.
Visual Indicators of Successful Incubation
Visual indicators of successful incubation include observing a healthy embryo’s development, proper yolk sac absorption, and the presence of healthy blood vessels. A visual guide showcasing these indicators will be beneficial in identifying successful incubations. A checklist with visual examples of these markers will prove helpful.
Visual Guide for Identifying Incubation Problems
A visual guide for identifying incubation problems should include diagrams or illustrations showing signs of uneven development, abnormal chick positions, or signs of damage. Each problem should be accompanied by a concise description of the symptoms and the appropriate troubleshooting steps. This visual tool should assist in diagnosing and addressing problems in a timely manner.
Answers to Common Questions
How long does it take to incubate chicken eggs – What is the average incubation time for a chicken egg?
The average incubation time for a chicken egg is 21 days, but this can vary depending on factors like egg type and environmental conditions.
How often should I turn the eggs during incubation?
Eggs should be turned regularly, ideally every 12 hours, to ensure even development of the embryo.
What is the ideal temperature for incubating chicken eggs?
The ideal temperature for incubating chicken eggs is typically around 99.5°F (37.5°C).
What are some common problems that can affect incubation times?
Common problems include incorrect temperature or humidity levels, improper egg turning, and egg damage. These issues can cause delays or prevent hatching.